Ultrasonic Welding Polypropylene: Joint Design, Settings & Common Defects
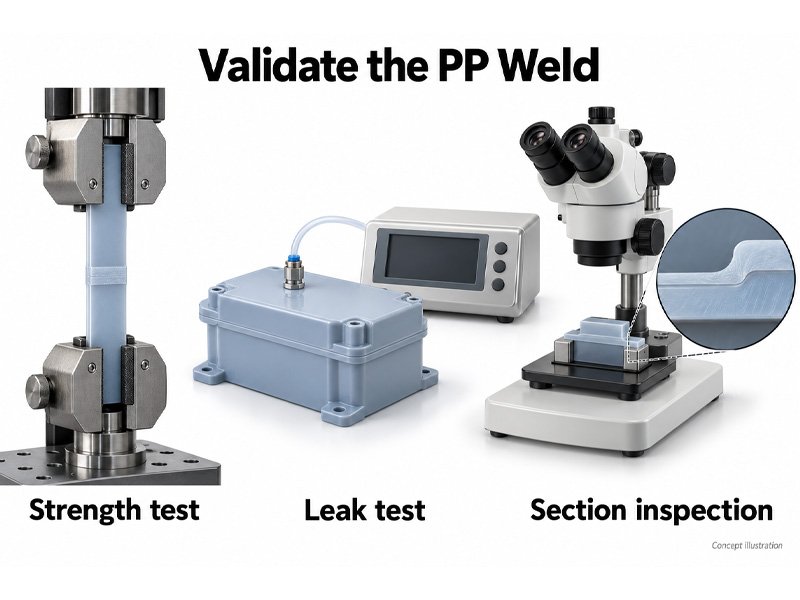
Polypropylene can be ultrasonically welded, but a joint that survives a pull test may still leak. Reliable PP ultrasonic welding depends on delivering vibration to the interface, melting enough material, and retaining a continuous fused seam. Start with the actual resin grade, joint geometry, and acceptance test. Transferring settings from an ABS welding application can leave PP parts under-welded or distorted.
Why polypropylene needs a different approach
PP is semi-crystalline. Its crystalline regions must melt before fusion can develop, and displaced melt can solidify before spreading across a wide seam. Keep horn contact close to the joint and support the part beneath it. Long vibration paths and flexible walls can consume energy before it reaches the interface.
Also check what “PP” means on your drawing. Homopolymer, impact-modified copolymer, glass-filled PP, and recycled grades can respond differently. Record melt flow rate, filler content, colorant, and regrind proportion before comparing trials.
Choose the joint around the sealing requirement
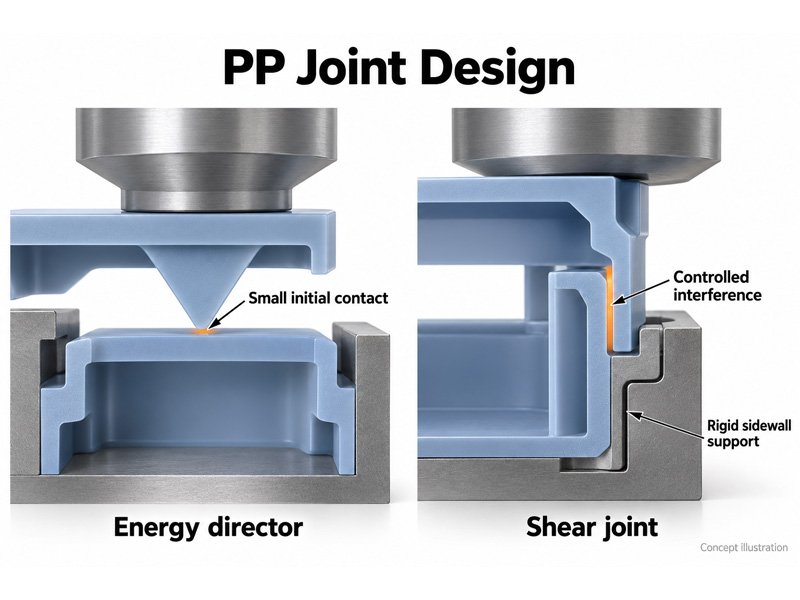
For structural bonds, a molded triangular energy director provides a small starting contact area. Check that it engages evenly around the joint: a rounded tip, sink, or warped flange changes where melting starts. Select its dimensions for the PP grade and wall section.
For a sealed enclosure, consider a shear joint. Its controlled interference produces a progressing weld along overlapping walls, keeping freshly melted surfaces together. It needs stable molding tolerances and firm sidewall support. Thin walls that flex away from each other can prevent proper fusion.
Dukane’s joint design guidance explains why shear joints suit semi-crystalline resins. A tongue-and-groove layout can also locate parts and contain flash, but the melt path still needs validation. Use leak testing to judge a sealing design.
Set a process window for ultrasonic welding of PP
A 2024 study of polypropylene sheets tested 4 mm DOCAPRÉN-H plates. The highest reported seam strength occurred at 1.2 seconds and 55 μm amplitude. Within the pressure range tested, amplitude had a greater influence than pressure. These values describe that experiment; they are not a production recipe for molded housings.
The study measured mechanical failure, not leakage or long-term creep. A sealing application therefore needs its own pressure-decay or other qualified leak test, even when a published strength result looks promising.
A useful tuning principle comes from Marcus and Sancaktar’s welding research: match melt generation to melt displacement. Their experiments used ABS, PC, and PBT, but the framework helps explain why increasing force alone may fail. The interface needs sufficient heating while the molten layer moves through the joint.
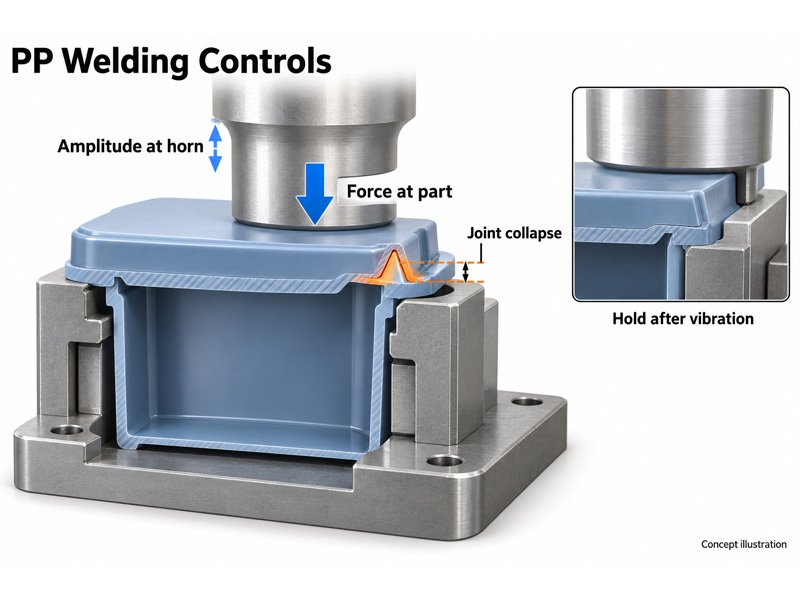
Record actual horn-face amplitude in micrometres and whether it is peak or peak-to-peak. A percentage setting cannot be transferred reliably between different acoustic stacks. Select frequency with part size and tooling in mind; our frequency selection guide explains the tradeoffs.
Pressure on a pneumatic regulator is not joint pressure. Cylinder size changes the force delivered at the same air-pressure setting, while the joint’s contact area changes as it melts. Record force in newtons when comparing machines.
For initial trials, keep resin, fixture, and force constant while screening several amplitude and weld-duration combinations. Repeat each condition, then compare strength, leakage, flash, and final dimensions. Hyusonic’s welding parameter guide explains how time, energy, and distance controls differ.
Once acceptable fusion is demonstrated, evaluate energy or collapse-distance control. Collapse is the reduction in joint height during welding. Machine travel can also include wall deflection or fixture movement, so verify it against sectioned joints. After vibration stops, maintain hold force long enough for the seam to solidify without distorting the assembly.
Read common PP welding defects before adjusting settings
Defect | First checks |
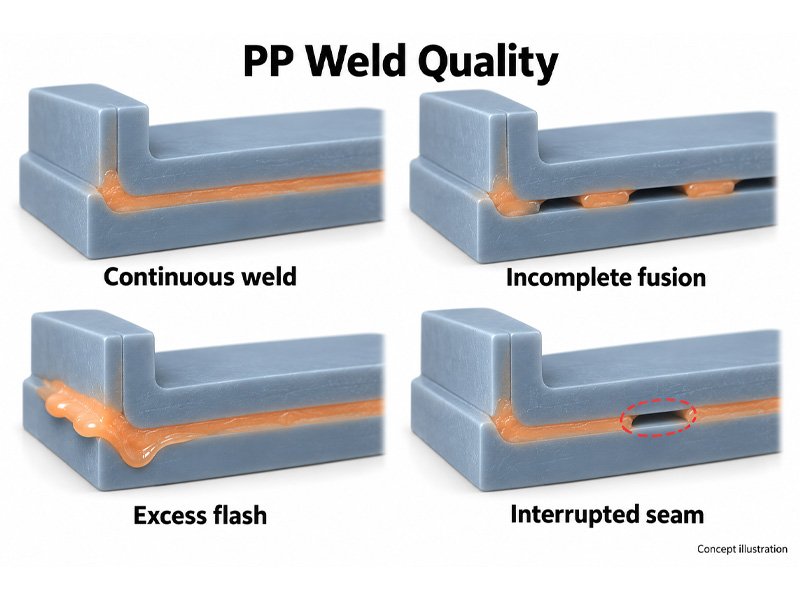
Weak joint with little collapse | Inspect horn contact, support, and energy-director engagement. If these are sound, investigate insufficient amplitude or weld duration. |
Heavy flash or distorted walls | Check excessive collapse, force, or duration. Inspect the flash trap and wall support before adding more energy. |
Strong joint that still leaks | Section the leaking location. Look for an interrupted seam, uneven contact, or melt that solidified before joining the mating surface. |
Quality changes between batches | Compare resin grades, regrind, molded dimensions, and part temperature. Retune only after identifying what changed. |
When plasma treatment research applies
A 2025 plasma–ultrasonic study improved polypropylene adhesive bonding by activating the surface and applying ultrasound to the adhesive. It did not test conventional PP-to-PP fusion welding. Its strength gains therefore do not establish a plasma pretreatment requirement for polypropylene ultrasonic welding.
Before releasing a process, test parts from more than one molding cavity and resin lot. If the assembly faces sustained loads or elevated temperatures, include those conditions in qualification. Save acceptable weld curves with the test results so later production changes can be checked against a documented baseline.
For equipment selection, look for an ultrasonic plastic welder with process monitoring that supports your validated control method. To discuss your application, send Hyusonic your PP grade, joint drawing, and sample requirements. Define the leak limit or mechanical load first, so trials measure the performance the finished assembly actually needs.